Did you know that you can paper marbling can be done really easily from items found around the home? Below is a tutorial explaining the process. Big thank you to Beth, who took took the photo's below and the time to write up the instructions for us to use in this blog post.
Equipment:
- Shaving foam (has to be foam not gel).
- A Tray, big enough for your paper.
- Ruler, thin piece of wood, palette knife, anything with a straight edge to smooth out the foam.
- Cocktail sticks/kebab sticks – something to swirl the paint around.
- Paper of any shape and size.
- Liquid paints, water colours, acrylic etc or food colouring.
- Pipette (optional).
- Plenty of kitchen roll.
- An Apron.
 |
| Note: This can get
very messy so it is advised to wear short sleeves or just be extra careful if you wear long sleeves. |
 |
Step
1:
Give
the shaving foam a good shake
then
fill your tray up with shaving cream
so
it is all covered, around an inch thick: |
 |
Step 2:
Using
your item with a straight edge,
smooth
out all of the shaving foam
so
you have a nice flat surface: |
 |
Step
3:
Using
a pipette (or your choice of item to add
the
paint/food colouring) add spots of colour all
around
the shaving foam, the more you cover,
the
more will show on the paper. |
 |
Step 4:
Using
a cocktail stick or kebab stick,
draw
swirls or patterns in the paint on
the
shaving foam. |
 |
Step
5:
Gently
Lay your paper flat on top
of
the shaving cream and gently press down
to
transfer the ink to the paper. |

 |
|
Finally:
Carefully
lift up your paper and lay it flat on the table, using your clean ruler or item
with a straight edge, slowly and carefully scrape from one side of the paper to
the other, to remove any excess shaving foam then leave to fully dry. |


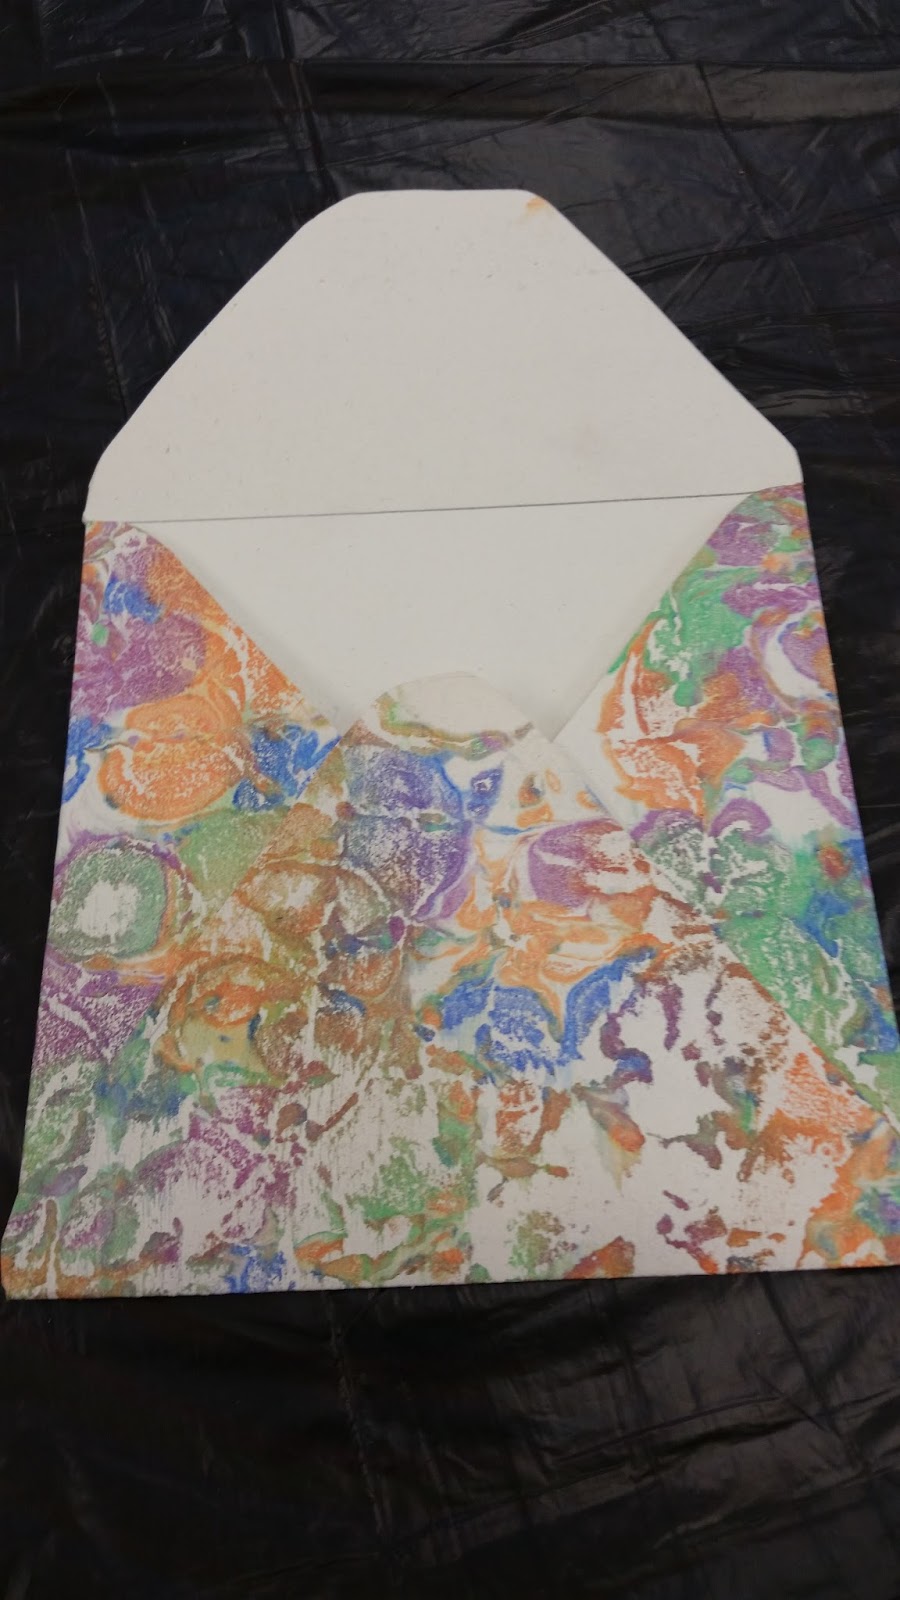 |
You
can now do what you would like with your marbled paper, I made mine into an
envelope.
|
Thank you Beth Jackson-D'Zacchaeus for writing and photography for this tutorial!
Checkout Danae's post where she shares her thoughts on taking part in the marbling workshop
Checkout Danae's post where she shares her thoughts on taking part in the marbling workshop
Comments
Post a Comment